Guide to Using Vacuum Sealer Bags for Meat
In the world of culinary delights, preserving the freshness and flavor of meat is a top priority for any home chef or food enthusiast. One effective and widely-used method is vacuum sealing, which removes air and seals in the goodness. In this detailed guide, we will explore the art of using vacuum sealer bags to preserve meat, subtly introducing the quality and reliability of PackFreshUSA® vacuum bags.
Why Vacuum Sealing?
Preserving meat with vacuum sealer bags is a game-changer. By removing air from the packaging, you inhibit the growth of bacteria and slow down the oxidation process, ensuring that your meat stays fresher for longer. This method is not only efficient but also maintains the quality and flavor of your cuts.
The Essential Tool: PackFreshUSA® Vacuum Sealer Bags
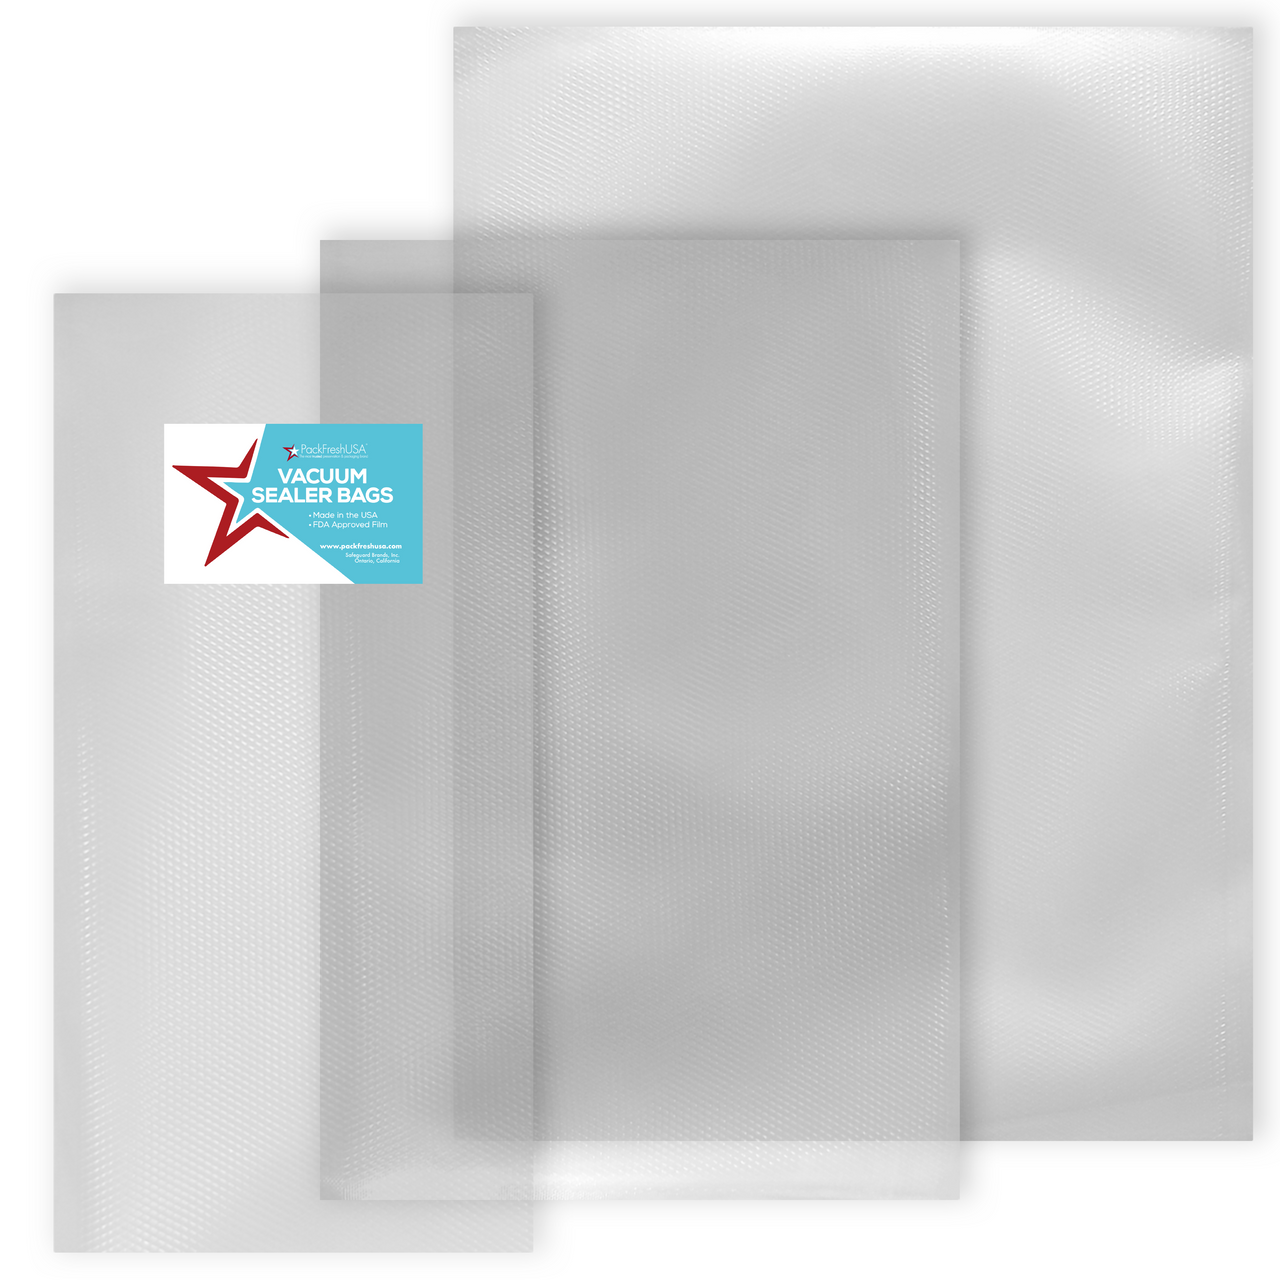
When it comes to vacuum sealer bags, the quality of the material matters. PackFreshUSA® vacuum sealer bags are made in the USA and are designed with durability and freshness in mind. These bags are puncture-resistant and free from harmful chemicals, providing a reliable solution for preserving the quality of your meat.
Steps to Perfectly Preserve Meat:
Step 1: Choose Fresh, High-Quality Meat
The first step to preserving meat is starting with the best quality. Choose fresh cuts that are free from discoloration or off-putting odors.
Step 2: Prep and Portion Your Meat
Before vacuum sealing, prepare and portion your meat based on your intended use. This step makes it easier to manage and use later without compromising the integrity of the vacuum seal.
Step 3: Season or Marinate (Optional)
If desired, season or marinate your meat before vacuum sealing. This allows the flavors to infuse and enhances the overall taste when it comes time to cook.
Step 4: Select the Right Size of Vacuum Sealer Bag
PackFreshUSA® offers a variety of sizes for vacuum sealer bags. Choose a bag that accommodates your meat cuts comfortably, leaving enough space for the vacuum sealer to create a tight seal.
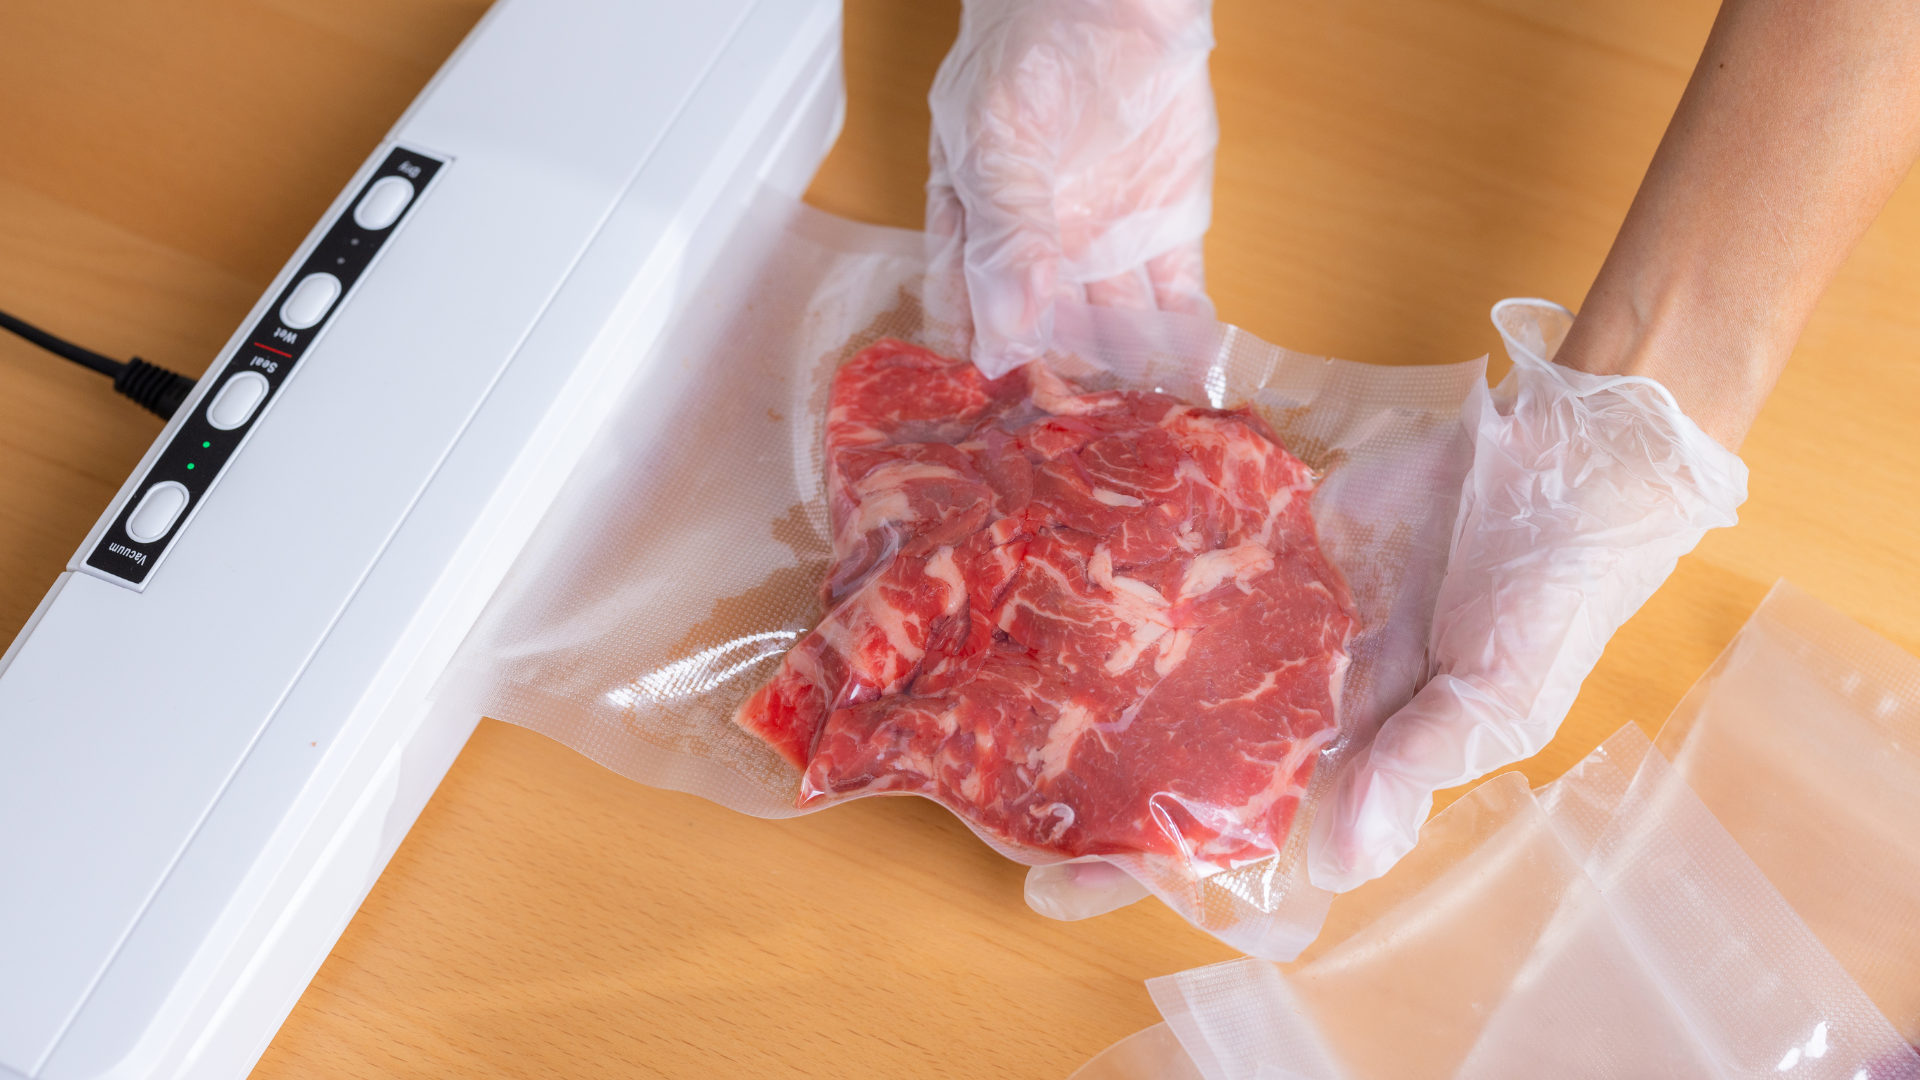
Step 5: Place Meat in the Bag
Carefully place your prepared meat into the vacuum sealer bag. Be mindful of the portions and avoid overfilling, as this may hinder the effectiveness of the vacuum sealing process.
Step 6: Seal One End of the Bag
Most vacuum sealer machines have a sealing function. Use this feature to seal one end of the bag securely before proceeding to the vacuuming step.
Step 7: Vacuum Seal the Bag
Place the open end of the bag into the vacuum sealer and activate the vacuum and seal function. Watch as the air is removed, leaving your meat snugly sealed in the bag.
Step 8: Double-Check the Seal
After the vacuum sealing is complete, ensure that the bag is tightly sealed. A secure seal is essential for preserving the freshness and quality of your meat.
Step 9: Label and Date
For easy identification and organization, label each vacuum-sealed bag with the type of meat and the date of sealing. This helps you keep track of the freshness of your cuts.
Step 10: Store Properly
Place the vacuum-sealed bags in the freezer for long-term storage. The lack of air in the bags prevents freezer burn and maintains the quality of your meat for an extended period.
Additional Tips:
- Always thaw vacuum-sealed meat in the refrigerator to maintain its freshness.
- Consider investing in a quality vacuum sealer machine for optimal results.
Preserving the quality and flavor of your meat is an art, and using vacuum sealer bags is a key technique in achieving this goal. PackFreshUSA® vacuum sealer bags provide a reliable and durable solution for home chefs and food enthusiasts alike. Elevate your culinary experience by embracing the freshness that vacuum sealing brings to your kitchen. Happy cooking!
Visit PackFreshUSA for premium packaging solutions for your meats and more!
If you have questions about emergency food storage, selecting the right packaging or product for your needs, don't hesitate to reach out to us at:
5starservice@packfreshusa.com - Toll Free: (844) 857-8277


