
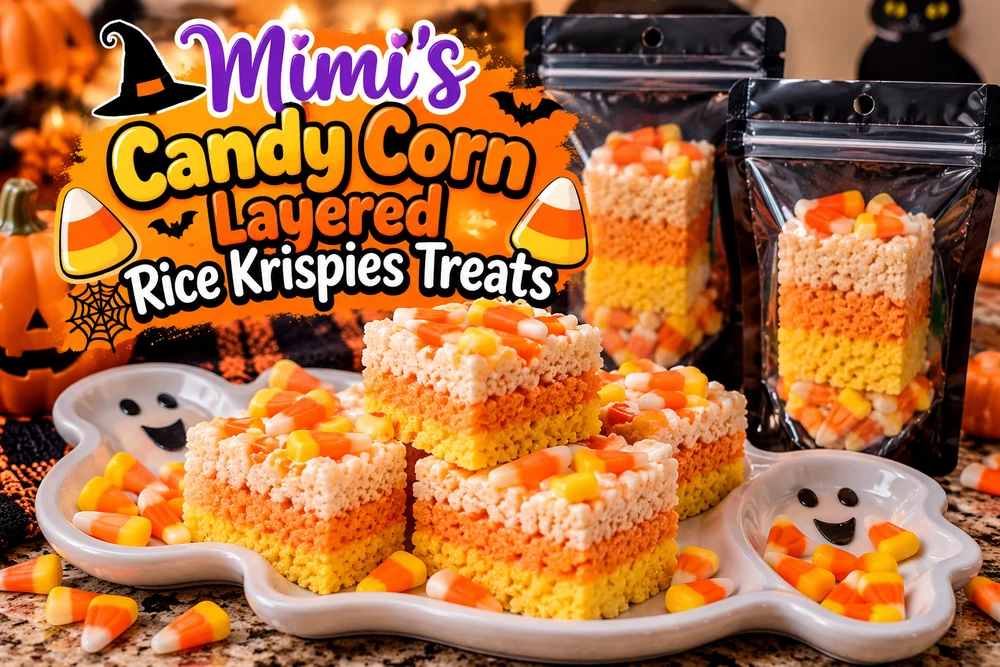
Day 2: Mimi's Candy Corn Layered Rice Krispies Treats!
Posted by Mimi on Oct 21st 2026
Day 2: Mimi's Candy Corn Layered Rice Krispies Treats!
Three Layers, One Spooktacular Halloween Treat!
By Mimi | PackFreshUSA
Welcome back, my little ghosts and goblins!
It's Day 2 of Mimi's Halloween Treat Adventures, and we're bringing a little candy corn magic into the kitchen!
Yesterday, we kicked off our Halloween fun with classic Monster Mash Rice Krispies Treats, loaded with Reese's Pieces, candy eyeballs, and spooky sprinkles.
But today?
Oh, we're getting a little more colorful!
You know those little yellow, orange, and white candy corn candies that magically appear in stores every fall?
Well, Mimi decided they shouldn't just sit around in a candy dish looking pretty.
We're melting them right into our marshmallows!
And we're not stopping there!
We're making three colorful layers of Rice Krispies treats, adding extra candy corn on top, and packaging them in our favorite black-and-clear stand-up pouches.
Because if we're going to celebrate Halloween, we might as well make it delicious!
The Magic of Three Candy Corn Layers
I wanted these treats to look like giant pieces of candy corn, with three distinct layers:
Yellow on the bottom — Bright and cheerful, just like the bottom of a traditional candy corn.
Orange in the middle — That beautiful Halloween orange we all recognize.
White on top — The finishing touch, with extra candy corn candies pressed right into the marshmallow mixture.
And here's what makes these treats different from ordinary colored Rice Krispies treats.
We're adding real candy corn to the melted marshmallows!
The candy adds extra sweetness and gives these treats a little candy corn personality.
Now, I will warn you.
These are definitely for someone with a sweet tooth!
But it's Halloween, and Mimi says we can have a little fun.
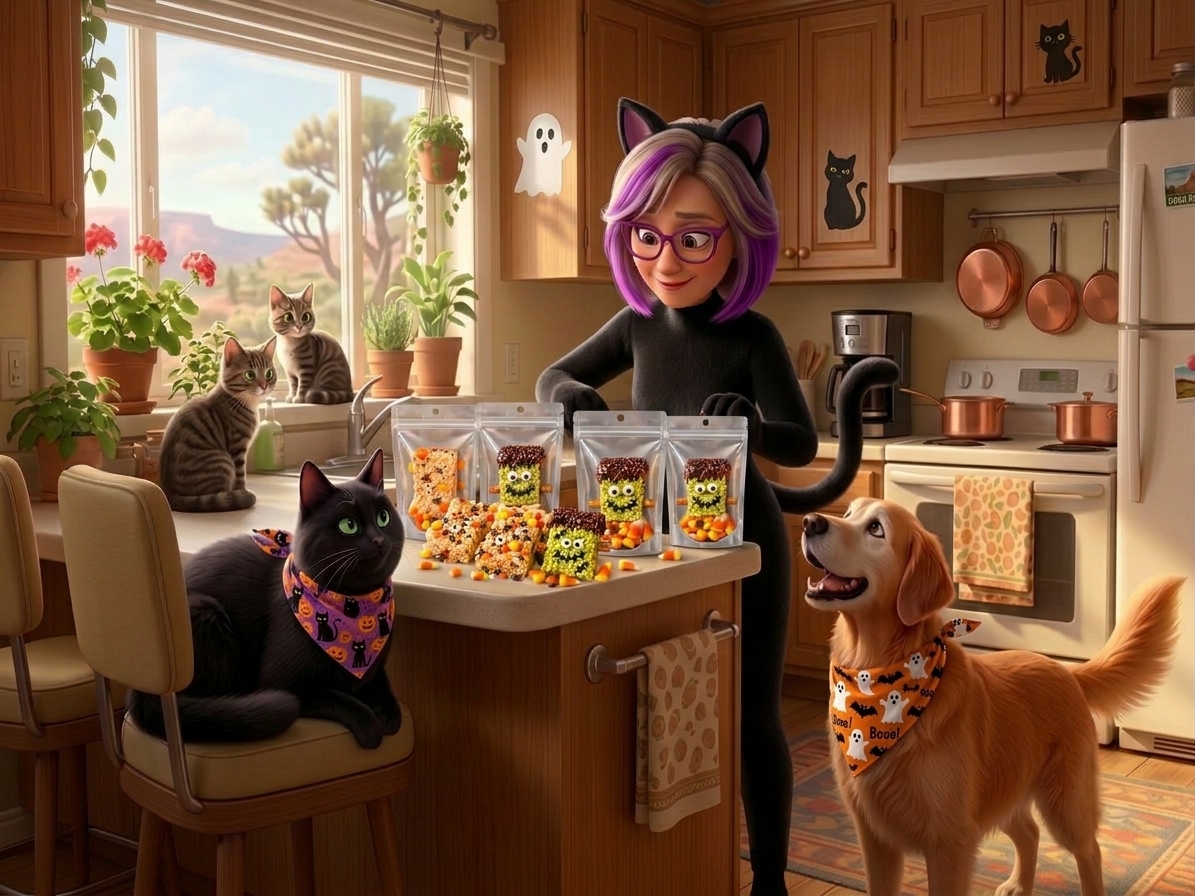 Mimi's Triple-Layer Candy Corn Rice Krispies Treats
Prep Time: Approximately 15–20 minutes
Setting Time: 30–60 minutes
Yield: Approximately 9–12 squares, depending on size
Ingredients
-
6 cups Rice Krispies cereal, divided into three portions of 2 cups each
-
1 package (10 oz.) miniature marshmallows, divided into three equal portions
-
3 tablespoons butter, divided
-
½ cup candy corn for melting into the yellow and orange layers
-
Additional whole candy corn for decorating the top
-
Yellow food coloring
-
Orange food coloring
-
Optional: ½ teaspoon vanilla extract
You'll Also Need:
-
An 8 × 8-inch or 9 × 9-inch baking pan
-
Parchment paper
-
Large saucepan
-
Spatula or wooden spoon
-
Your saved butter wrapper!
-
PackFreshUSA Black-and-Clear Stand-Up Pouches
Step 1: Prepare Your Pan
Line your baking pan with parchment paper, leaving a little extra hanging over the edges.
This will make it much easier to lift out your finished Rice Krispies treats.
We're making three separate layers, so having everything ready before you start is a big help.
And don't throw away your butter wrapper!
I'll tell you why in just a minute.
Step 2: Make the Yellow Layer
In a saucepan over low heat, melt 1 tablespoon of butter.
Add one-third of your miniature marshmallows and approximately ¼ cup of candy corn.
Stir gently as the marshmallows melt and the candy corn softens.
Candy corn takes longer to melt than marshmallows, so keep the heat low and be patient. If needed, melt the candy corn first with a little of the butter before adding the marshmallows.
Once everything is smooth, add a few drops of yellow food coloring.
Remove from the heat and fold in 2 cups of Rice Krispies cereal.
Gently press the mixture into the bottom of your prepared pan.
Try to make the layer as even as possible.
And remember, don't press too hard!
We want soft, chewy treats, not Halloween bricks!
Step 3: Make the Orange Layer
Now we're adding that beautiful Halloween orange!
Repeat the process using:
-
1 tablespoon butter
-
One-third of the miniature marshmallows
-
¼ cup candy corn
-
Orange food coloring
-
2 cups Rice Krispies cereal
Melt the butter, candy corn, and marshmallows gently over low heat.
Add your orange food coloring and stir until evenly blended.
Remove from the heat and fold in your cereal.
Carefully spread the orange mixture
over your yellow layer.
Use gentle pressure to keep those two colors separate and create a nice, even middle layer.
Look at those colors!
We're starting to look like a giant candy corn already!
Step 4: The White Layer — With Extra Candy Corn!
For the final layer, melt your remaining tablespoon of butter and the last portion of miniature marshmallows.
We're leaving the candy corn out of this layer to keep it as white as possible.
Once the marshmallows are melted, fold in your final 2 cups of Rice Krispies cereal.
Gently spread the white mixture over the orange layer.
But Mimi wasn't finished decorating just yet!
While the top layer was still warm and sticky, we added extra whole candy corn candies across the top!
Gently press them into the marshmallow mixture so they'll stay in place.
Those little pops of orange, yellow, and white make the finished treats even more festive.
Because really, can you ever have too much Halloween fun?
Mimi's Kitchen Secret: Save That Butter Wrapper!
Here's one of my favorite little kitchen tricks!
Don't throw away your butter wrapper!
After adding your butter to the saucepan, save that buttery wrapper.
When it's time to press your Rice Krispies mixture into the pan, use the buttered side of the wrapper to gently smooth everything into place.
The leftover butter helps keep the sticky marshmallow mixture from clinging to your hands or utensils.
It also makes spreading the mixture into the corners of your pan so much easier.
Less mess, less waste, and fewer sticky fingers!
Sometimes the best kitchen tools are the ones we were about to throw away!
Step 5: Cool, Cut, and Admire Your Candy Corn Creations
Allow your Rice Krispies treats to cool and set for approximately 30–60 minutes.
Once they're firm enough to cut, lift the entire block out of the pan using the parchment paper.
Use a sharp knife to cut your treats into squares or rectangles.
And here's the fun part!
Look at those beautiful yellow, orange, and white layers!
Each piece looks like a little slice of Halloween.
And with those extra candy corn candies on top?
They're almost too cute to eat.
Almost!
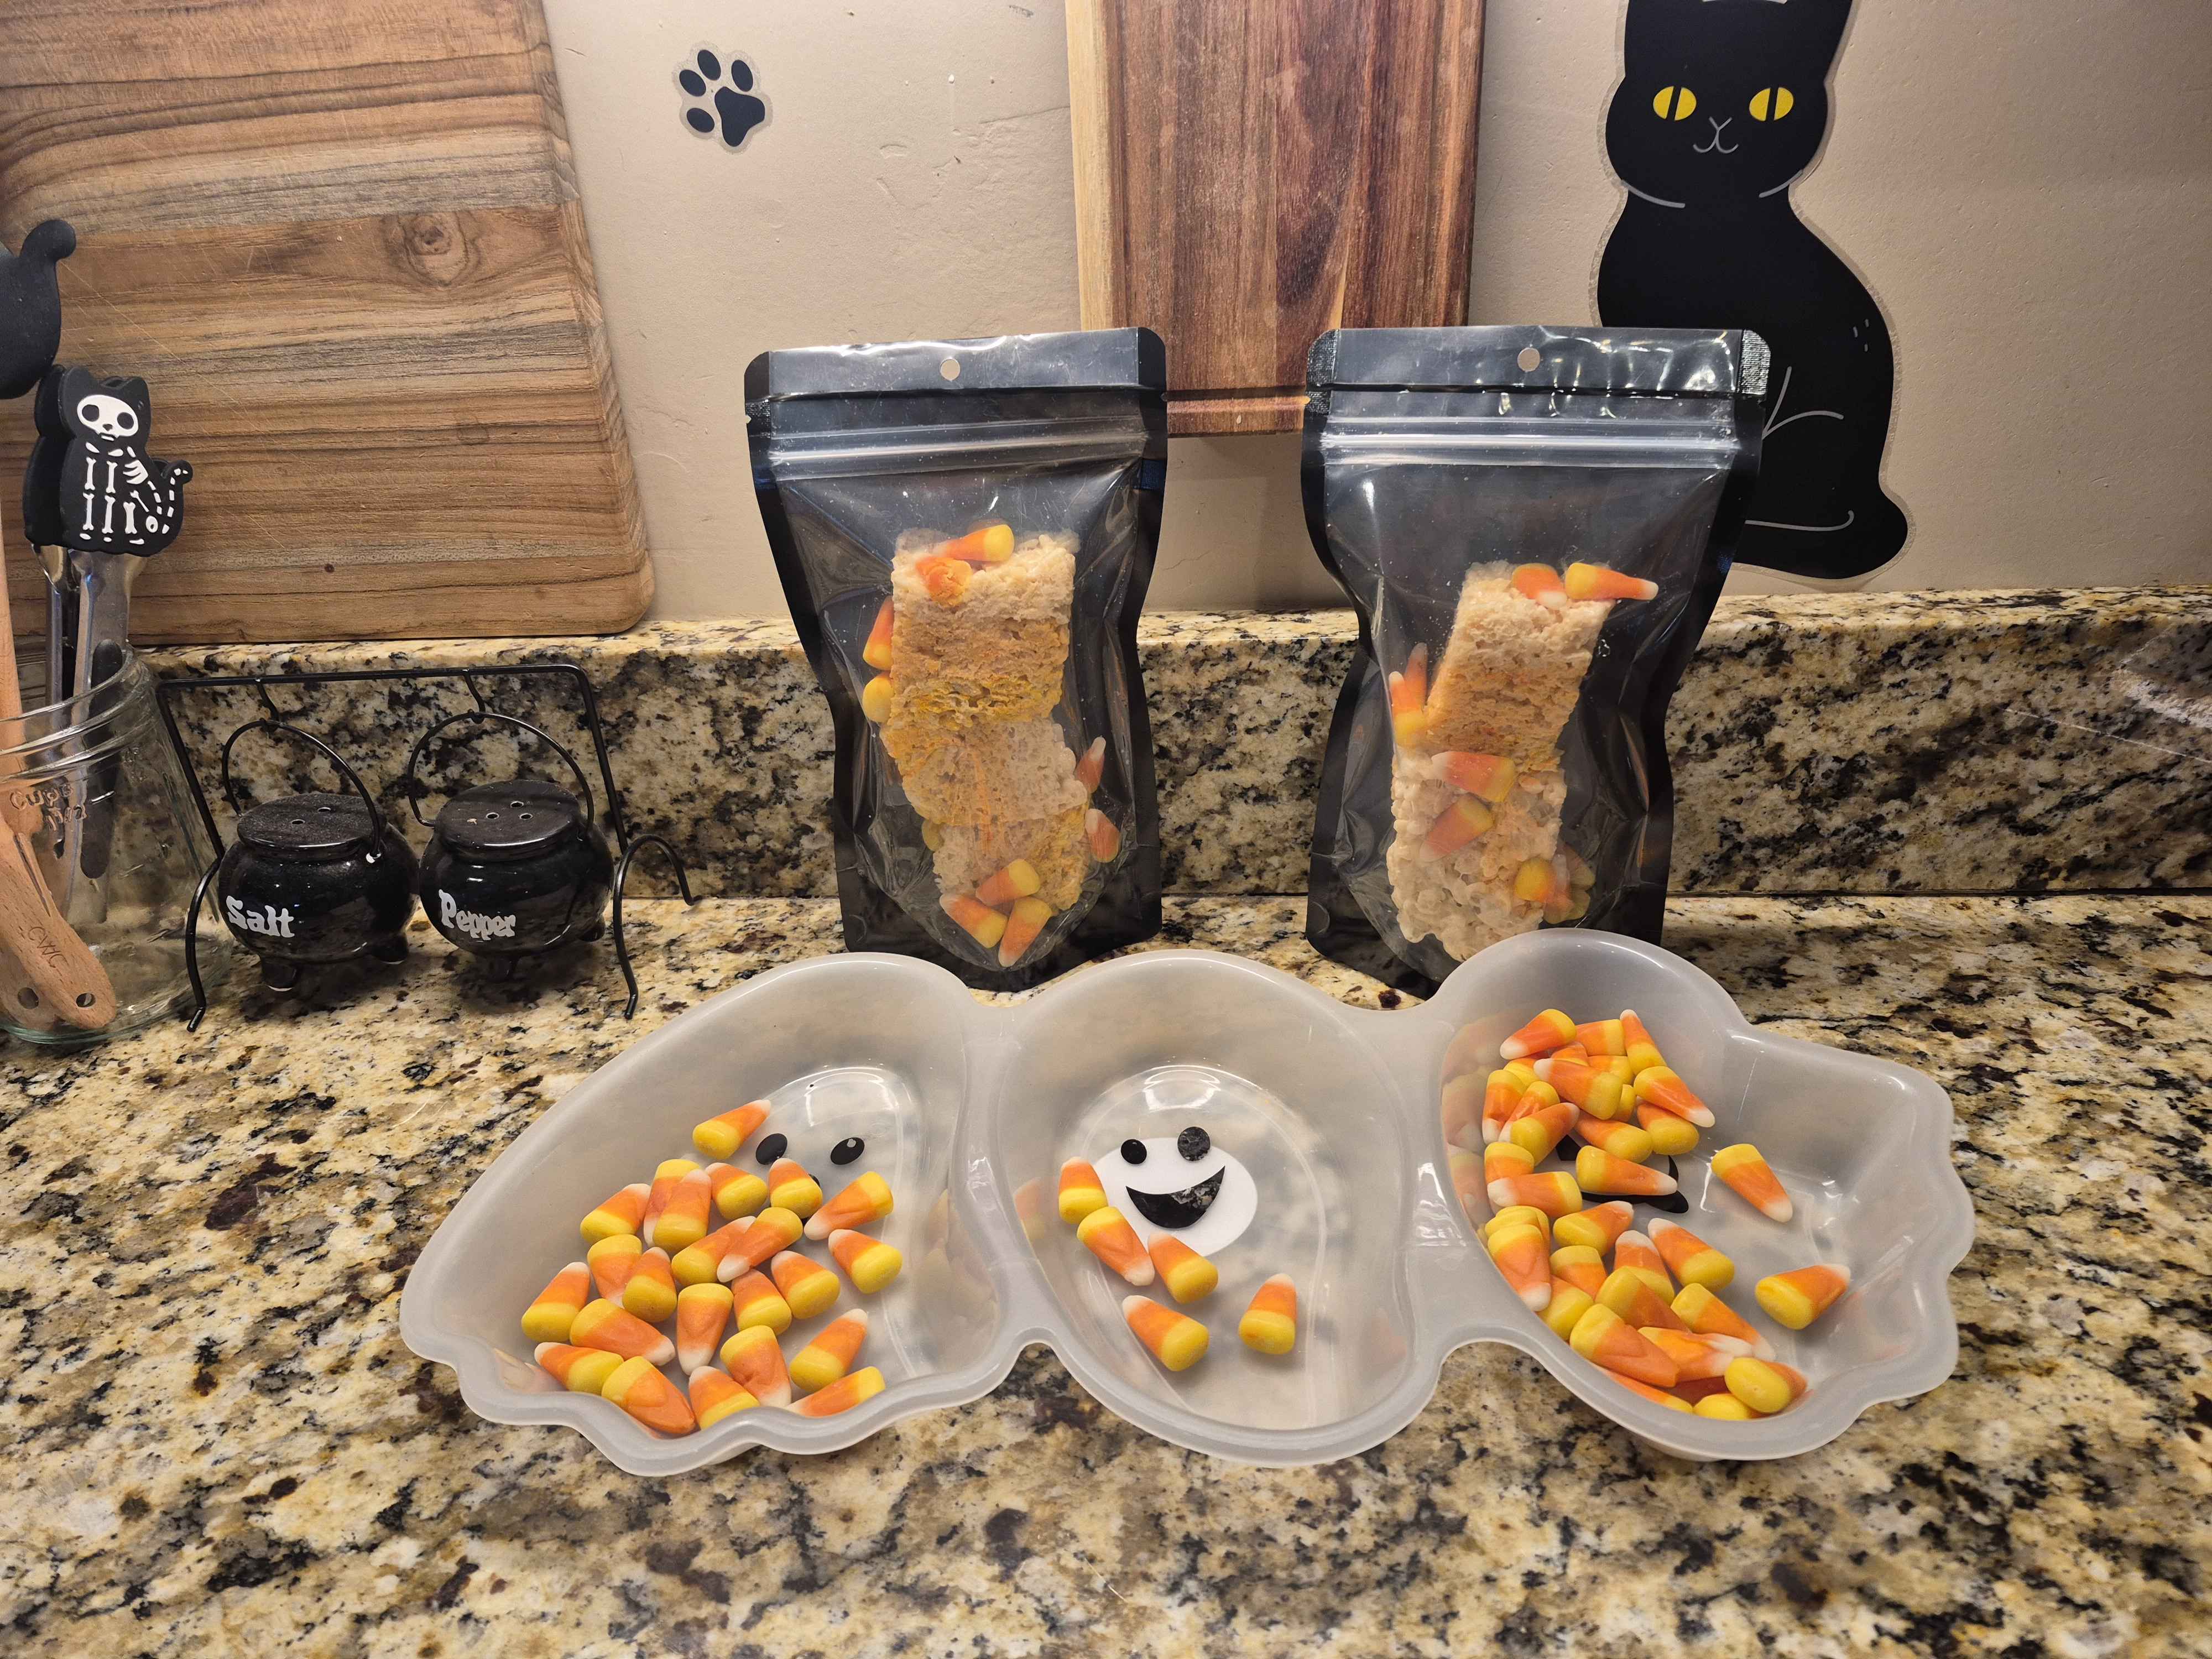 Packaging Our Halloween Treats with PackFreshUSA
Now, you know Mimi couldn't make these adorable treats without finding the perfect packaging!
For our Halloween Rice Krispies creations, we're using PackFreshUSA's Black-and-Clear Stand-Up Pouches.
And let me tell you, they look fantastic!
The black exterior creates the perfect spooky backdrop, while the clear window lets everyone see those colorful candy corn layers.
I especially love how the yellow and orange stand out against the black packaging.
It's like Halloween dressed up in its Sunday best!
Why These Pouches Are So Much Fun
Black-and-Clear Design: The black background makes the Halloween colors pop, while the clear window showcases your treats.
Stand-Up Gusset: Perfect for displaying homemade Halloween goodies on a table or countertop.
Resealable Zipper: Convenient for opening and closing your treat bags.
Heat-Sealable Top: Provides an additional closure when properly sealed.
Perfect for Gifting: These pouches make adorable Halloween party favors, neighbor gifts, and seasonal treats.
Visit PackFreshUSA.com to explore our stand-up pouch selection.
Mimi's Packaging Tip
Make sure your Rice Krispies treats have cooled completely before placing them in your pouches.
These are traditional soft, chewy marshmallow treats, not freeze-dried snacks.
They're intended to be enjoyed fresh, so don't treat them as long-term storage foods.
Choose a pouch large enough to hold your treats without crushing the layers or knocking off your candy corn decorations.
And if you're packaging them for gifts, a cute Halloween sticker makes the presentation even more fun!
Mimi's Candy Corn Kitchen Tips
Keep the heat low! Candy corn contains a lot of sugar, and overheating can make it hard or scorched.
Work one layer at a time! Have all your ingredients measured and ready before you begin.
Use gel food coloring! It gives you beautiful Halloween colors without adding much extra liquid.
Don't pack too tightly! Gently pressing the mixture keeps the treats soft and chewy.
Decorate while they're warm! Add those extra candy corn candies before the top layer sets.
Save your butter wrapper! It's one of my favorite tricks for handling sticky marshmallow treats.
Watch those little candy corns! They're sweet, colorful, and somehow have a way of disappearing from the candy bowl before I'm finished decorating.
I have absolutely no idea how that happens.
Wink, wink!
A Little Halloween Magic from Mimi
I have to tell you, these three-layer candy corn Rice Krispies treats were so much fun to make.
There's something about those bright yellow, orange, and white layers that just makes me smile.
And adding real candy corn to the marshmallows?
Well, that was a sweet little experiment worth trying!
One of my favorite things about cooking is taking a familiar recipe and giving it a new twist.
Sometimes it's a new flavor.
Sometimes it's a different shape.
And sometimes it's melting Halloween candy into marshmallows and seeing what happens!
That's what Mimi's kitchen is all about.
A little creativity, a little experimenting, and a whole lot of love.
Don't Disappear! Day 3 Is Coming!
Well, my little ghosts and goblins, that's a wrap on Day 2 of Mimi's Halloween Treat Adventures!
But don't put those marshmallows away just yet!
Because tomorrow...
IT'S ALIVE! IT'S ALIVE! ⚡
We're bringing a certain green Halloween monster into Mimi's kitchen!
There will be chocolate hair, candy eyeballs, pretzel bolts, and plenty of monster-sized mischief.
Can you guess who's coming?
Come back for Day 3 and more spooky treats, sweet surprises, and a little Halloween magic!
Until next time, keep your marshmallows gooey, your treats delicious, and your Halloween spirit alive!
Hugs, giggles, and candy corn kisses!
Mimi
Your favorite Mylar-loving, marshmallow-melting grandma at PackFreshUSA
P.S. If you hear a strange cackle coming from Mimi's kitchen, don't worry. I'm probably just melting another batch of marshmallows. Mwahahaha!