Getting Started with Long Term Food Storage
Posted by PackFreshUSA on Apr 6th 2017
In our previous posts, we have talked about the basics of using Mylar bags and oxygen absorbers, so we think you’re ready to get started on your own journey of food preservation. Building a long-term food storage supply may be a daunting task but it is an important part in being prepared and self-reliant.
Some of the basics
Short-term food vs. Long-term food
There is an important difference between short-term food and long-term food! Short-term food is usually highly processed or stored in liquid, or has high oil content. These types of foods such as boxed meals and canned foods need to be used and rotated regularly. Long-term food is usually dried, dehydrated, or freeze dried and if stored properly, it can be stored indefinitely.
Getting started does not have to be difficult, you don’t need any special or expensive equipment. We are sure that you already have the necessary “tools” in your home.
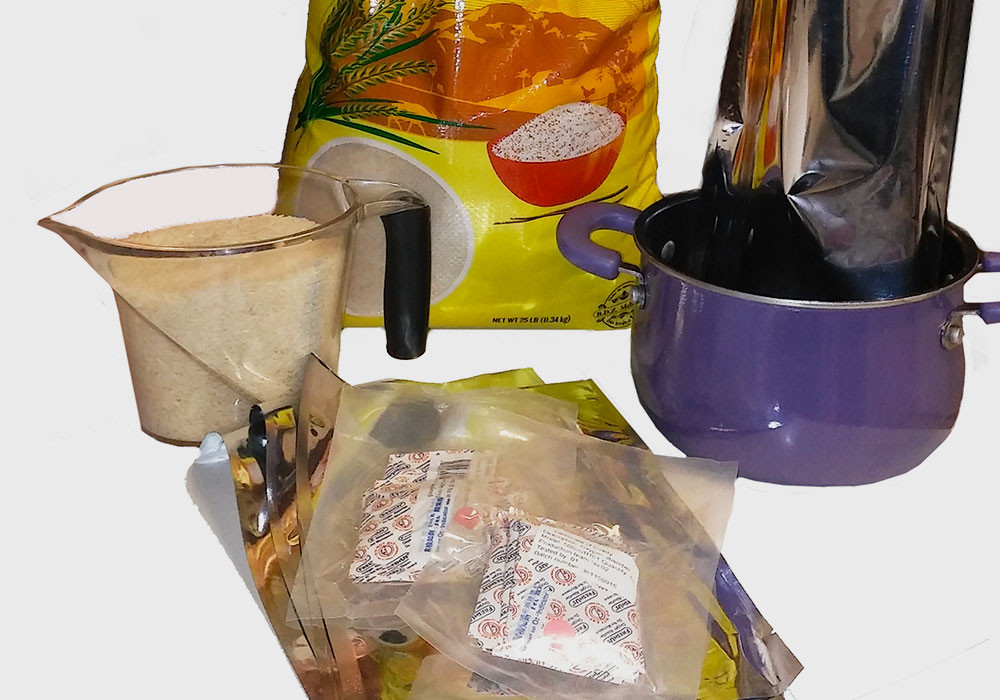
Things you will need:
- Mylar bags - We sell a variety of Mylar bags and depending on your needs, you may go with a quart, gallon, or 5 gallon bags. We also offer a Century/Premium and Heavy Duty line of our bags, which are guaranteed to preserve your food for over a century but our regular bags will hold out for almost just as long, and that’s a LONG time. The thickness of the bags does not play as big as a role as others lead to believe. The thickness does little to provide oxygen protection as it is the metal layer, not the polyethylene core that protects from oxygen.Thickness can relate to physical protection, but our 3.5 mil film will hold the weight of 2 cinder blocks over EACH square inch because it is “Biaxially Oriented” which makes a grid-like structure for remarkable strength .
- Oxygen Absorbers – Depending on the Mylar bag size you have chosen to get started with, you will need to have the corresponding size of oxygen absorbers. To make things a little easier, our Mylar Bags And Oxygen Absorbers Sets are available in our store so you can start preserving with confidence.
- Sealer- Check out a Previous Blog Post for a quick refresher on how to seal Mylar bags. It’s easy, trust us!
- A Permanent marker or label - You will want to have some way of marking the contents and date stored on the bags.
- Food for preserving – It is important to keep in mind on how long you plan on storing your product. Follow the handy guide above provided by FEMA for a quick reference and ideas.
The process:
If you have everything you need at hand, the entire process will only take you a few minutes (depending on how much you plan on storing).
- We recommend having a sturdy way to hold up your Mylar bag when pouring your product in. If you’re using a quart or gallon size bag, a cooking pot will do; or a 5-gallon bucket for our 5 gallon bags. >
- Make sure to leave a 3-4 inches of space at the top, leaving enough room to seal the bag with your preferred sealing method.
- Pack your product down to compact the contents and with the top of the bag straight up, take your sealer and seal the bag ¾ of the way, leaving an opening big enough to drop your absorbers in.
- Before fully sealing it, press as much air out as you can.
- After 24-hours you will notice your oxygen absorbers taking effect, however please keep in mind that oxygen is only 21% of air. Your results may vary in how compact and vacuum sealed your bag will appear. Read more about oxygen absorbers Here.
As one of the top leaders in long term food storage, we highly encourage emergency preparedness and self-reliance. Learning and becoming familiar with food preservation is a pro-active way to get started.
Click Here for more helpful information regarding long term food storage.

