
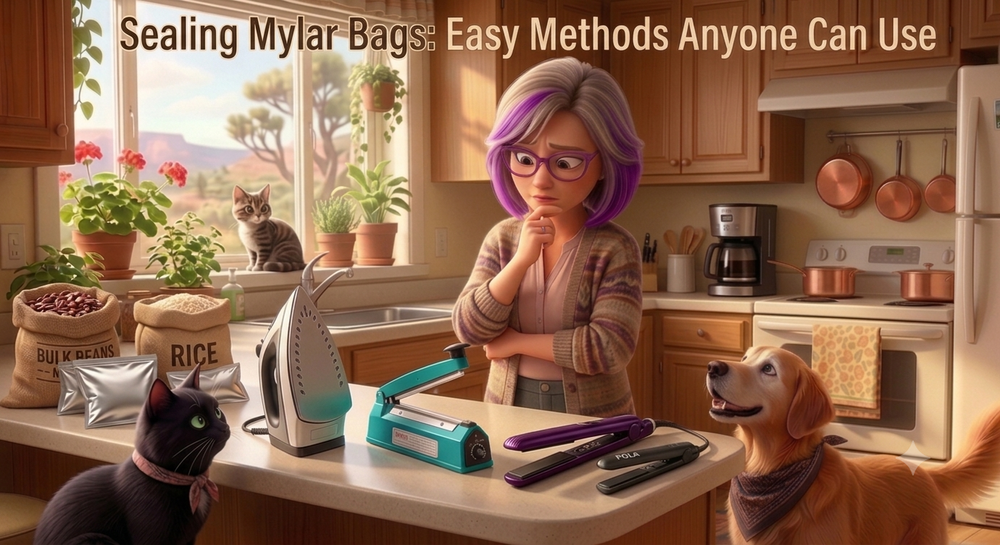
Sealing Mylar Bags: Easy Methods Anyone Can Use
Posted by Mimi on Jul 15th 2026
Sealing Mylar Bags: Easy Methods Anyone Can Use
One of the most common questions I get from people starting their food storage journey is, "How do I seal Mylar bags?" The good news is that sealing Mylar bags is incredibly easy and doesn't require expensive equipment. In fact, you probably already have everything you need in your home.
Whether you're packaging rice, beans, pasta, freeze-dried foods, or emergency preparedness supplies, a good heat seal is the key to long-term storage success.

Method 1: Using a Clothing Iron
A standard household clothing iron works wonderfully for sealing Mylar bags.
Set the iron to the cotton setting and make sure the steam function is turned off. Moisture is the enemy of long-term food storage, so you never want steam involved in the sealing process.
For smaller bags, I like to use an upside-down cookie sheet as my sealing surface. The metal provides a firm, heat-resistant surface that helps create a strong seal.
For larger bags, such as 5-gallon Mylar bags, a cookie sheet isn't always practical. Instead, place a piece of wood, a metal ruler, or even a metal level underneath the sealing area. This gives you a straight, firm edge to run the iron across.
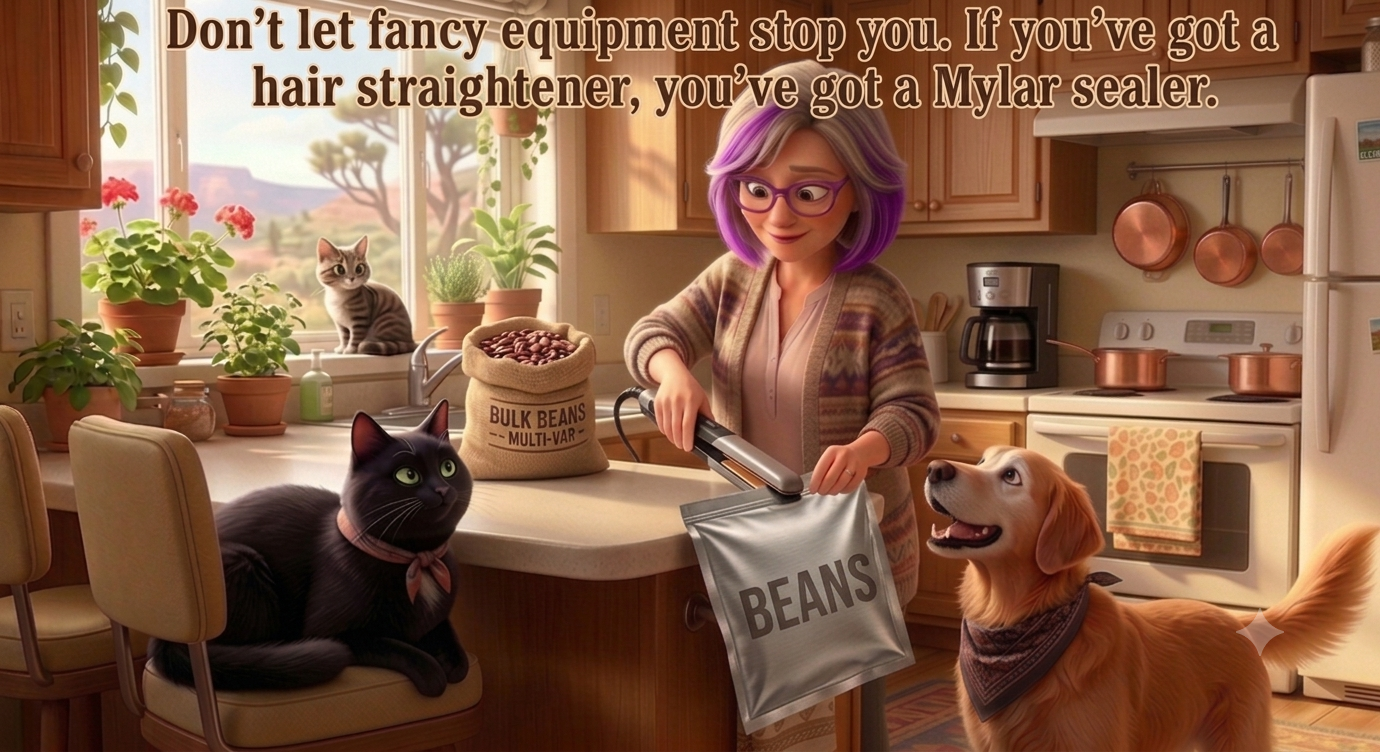
Method 2: Hair Straighteners
If you have a hair straightener tucked away in a bathroom drawer, you already own one of the best Mylar sealing tools available.
Hair straighteners are easy to control, heat evenly, and create a clean seal in just a few seconds. Many preparedness enthusiasts and freeze-dryers actually prefer them over traditional irons because they are lightweight and easy to maneuver.
Simply clamp the straightener across the top of the bag and slowly move it along the seal area.
Method 3: Mini Sealers and Handheld Sealers
For those packaging larger quantities of food, a mini sealer or handheld impulse sealer can be a real time saver.
These tools are designed specifically for sealing plastic and Mylar materials and can quickly create consistent seals with very little effort.
If you're regularly packaging food for long-term storage, they are a worthwhile investment.
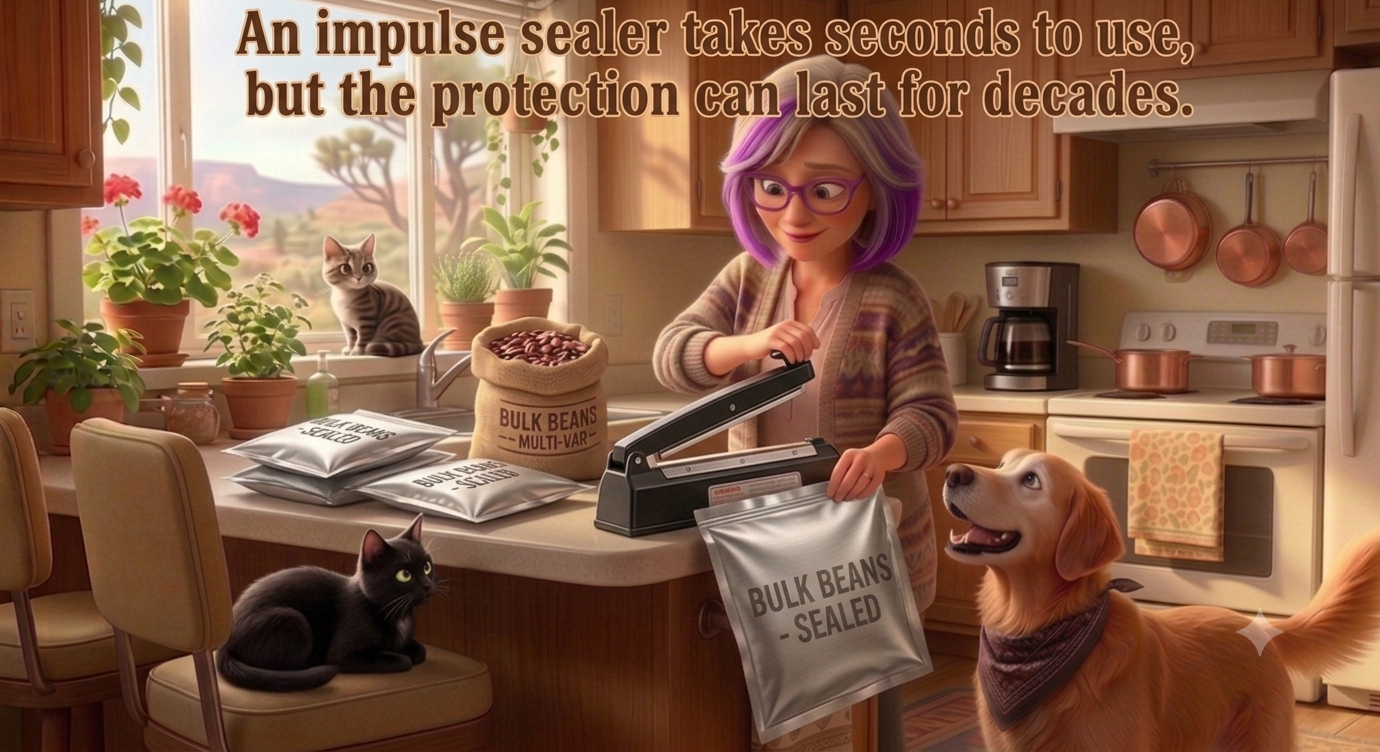
Method 4: Impulse Sealers
If you regularly package large quantities of food or run a freeze-dried food business, an impulse sealer can be a game changer.
Select your favorite heat-sealers here.
Impulse sealers are designed specifically for heat-sealing plastic and Mylar packaging. Unlike an iron or hair straightener, the heating element only activates when the sealing arm is pressed down, making them efficient, safe, and easy to use.
Simply place the open edge of the Mylar bag across the sealing strip, press the arm down for a few seconds, and release. The result is a professional-looking seal that is consistent every time.
Impulse sealers are especially useful when:
- Packaging multiple bags at once
- Sealing larger Mylar bags
- Working with stand-up pouches for resale
- Creating uniform, professional seals
Many preparedness enthusiasts and small businesses eventually upgrade to an impulse sealer because it speeds up the packaging process while reducing the chance of incomplete seals.
Mimi's Favorite Oxygen Absorber Trick
When I'm packaging food with oxygen absorbers, I rarely seal the bag completely at first.
Instead, I seal about 70% of the top edge, leaving a small opening. Then I insert the oxygen absorber, gently press out as much excess air as possible, and finish the final portion of the seal.
I call this "burping the bag." It helps remove extra air and allows the oxygen absorber to work more efficiently.
Checking Your Seal
Before putting your food storage away, always inspect the seal.
Look for:
- A continuous seal from edge to edge
- No gaps or wrinkles in the seal line
- A smooth, uniform appearance
- No food particles trapped in the sealing area
A few extra seconds spent checking your seal can prevent years of storage problems later.
Mimi's Tip
No matter which sealing method you choose—iron, hair straightener, mini sealer, handheld sealer, or impulse sealer—always perform a quick visual inspection of the seal before storing your food. A solid seal is your first line of defense against oxygen and moisture, helping ensure your food stays fresh for years to come.
For those just getting started, use what you already have at home. As your food storage needs grow, an impulse sealer can be a worthwhile investment that makes sealing Mylar bags even faster and easier.
Final Thoughts from Mimi
One of the biggest misconceptions about Mylar bags is that they require special equipment. The truth is that most people can start sealing Mylar bags today with items they already own.
Whether you use an iron, hair straightener, mini sealer, or impulse sealer, the goal is the same: create a strong, airtight seal that protects your food from oxygen, moisture, and light.
Pair quality Mylar bags with the proper size oxygen absorbers, and you'll be well on your way to building a reliable long-term food storage system for your family and your future self.
After all, preparedness doesn't have to be complicated—it just has to be done.